
Make your own Raspberry Pi webcam
26 Aug 20202020 has been an interesting year to say the least, but one of the oddest side effects of coronavirus is the fact that USB webcams have been much harder to come by and generally cost a lot more than they used to. The oft lauded Logitech c920 goes for the best part of £100 if not more, and that’s if you can find one in stock.
I had the idea a few months ago that I could probably jury-rig a Raspberry Pi Zero with a camera module to be a USB webcam but I didn’t know enough about how to configure one to make it work. I was following this thread on the official forums but it seemed that people far smarter than me weren’t having any luck, so I gave up for the meanwhile. Recently I came across a post by David Hunt that made my heart skip a beat - he’d cracked the remaining steps and created a detailed post about how to configure everything.
I realised that this probably wouldn’t work if I needed to quickly unplug the Pi as power cuts can cause SD card corruption - then I remembered that you can configure the Pi to have a read only operating system. As this would only be plugged in via USB without any network access, I wouldn’t need OS or software updates! I’d done this years before but long since forgotten how, thankfully another post by Andreas Schallwig had me covered with a detailed guide for the latest version of the Raspberry Pi OS, Buster.
I followed both guides and added some customisations of my own to turn off the wifi of my Pi. I couldn’t quite figure out why the image appeared blurry at this stage. Turns out yet another blogger had me covered - Jeff Gerling’s post about the camera explained what was wrong and more importantly that you can manually focus a v2 camera with some tweezers! One awkward and fiddly step later this was the result:

Impressive no? David’s configuration sets up the camera to act as a generic UVC 1080p/30fps webcam that should work on most desktop operating systems. I set mine up on Pop OS and it worked just fine. It looks significantly better than my laptop camera at 720p and matches the spec of the c920 I mentioned earlier. Considering the c920 costs so much, I saw this as a significant win.
If you want to try this out yourself, you’ll need the following parts:
- A micro usb data cable.
- A decent micro SD card.
- A Pi Zero W.
- A case.
- A Ribbon cable for the camera module. (This comes with the official case.)
- A v2 camera module.
- Something to hold the Pi with so the camera can aim at your face.
- A computer to flash the micro SD card and use SSH with.
Assuming you already have a computer, the cost of all of the above is only around £45. If you have any of the parts already you’ll save even more. Who needs a £100 webcam? David uses the Pi HQ camera but this is overkill for a webcam and costs a lot more than the v2. The Pi Camera V1 should also work but those are no longer in production so I couldn’t verify this myself.
To get started, you’ll need to download the latest version of the Raspberry Pi OS and flash it onto your SD card. The easiest way to do this I’ve found is to use the official Raspberry Pi Imager tool and choose Rasbian Lite as the OS image - we’re not going to be using a desktop on our webcam!
Once you’ve flashed the SD card you need to open up the boot partition in your file explorer and add two files.
Add one called ssh with no file extension - we’ll need this to enable SSH access for later. Add a second one called wpa_supplicant.conf
and give it the following content:
country=gb
update_config=1
ctrl_interface=/var/run/wpa_supplicant

network={
 scan_ssid=1
 ssid="MyNetworkSSID"
 psk="MyWifiPassword"
}
You can change the country code if you live outside of the UK - acceptable values are us, de, fr etc. depending on your country.
Plug your SD card into your Pi and attach the v2 Camera inside of the case. There’s a handy guide here if you’ve never done this before. Connect a micro USB cable to the Pi’s USB data port and plug it into your PC. The data port is the one in the middle, not the one near the edge of the board. Once assembled you should have something that looks similar to mine, which is currently mounted on my monitor stand:
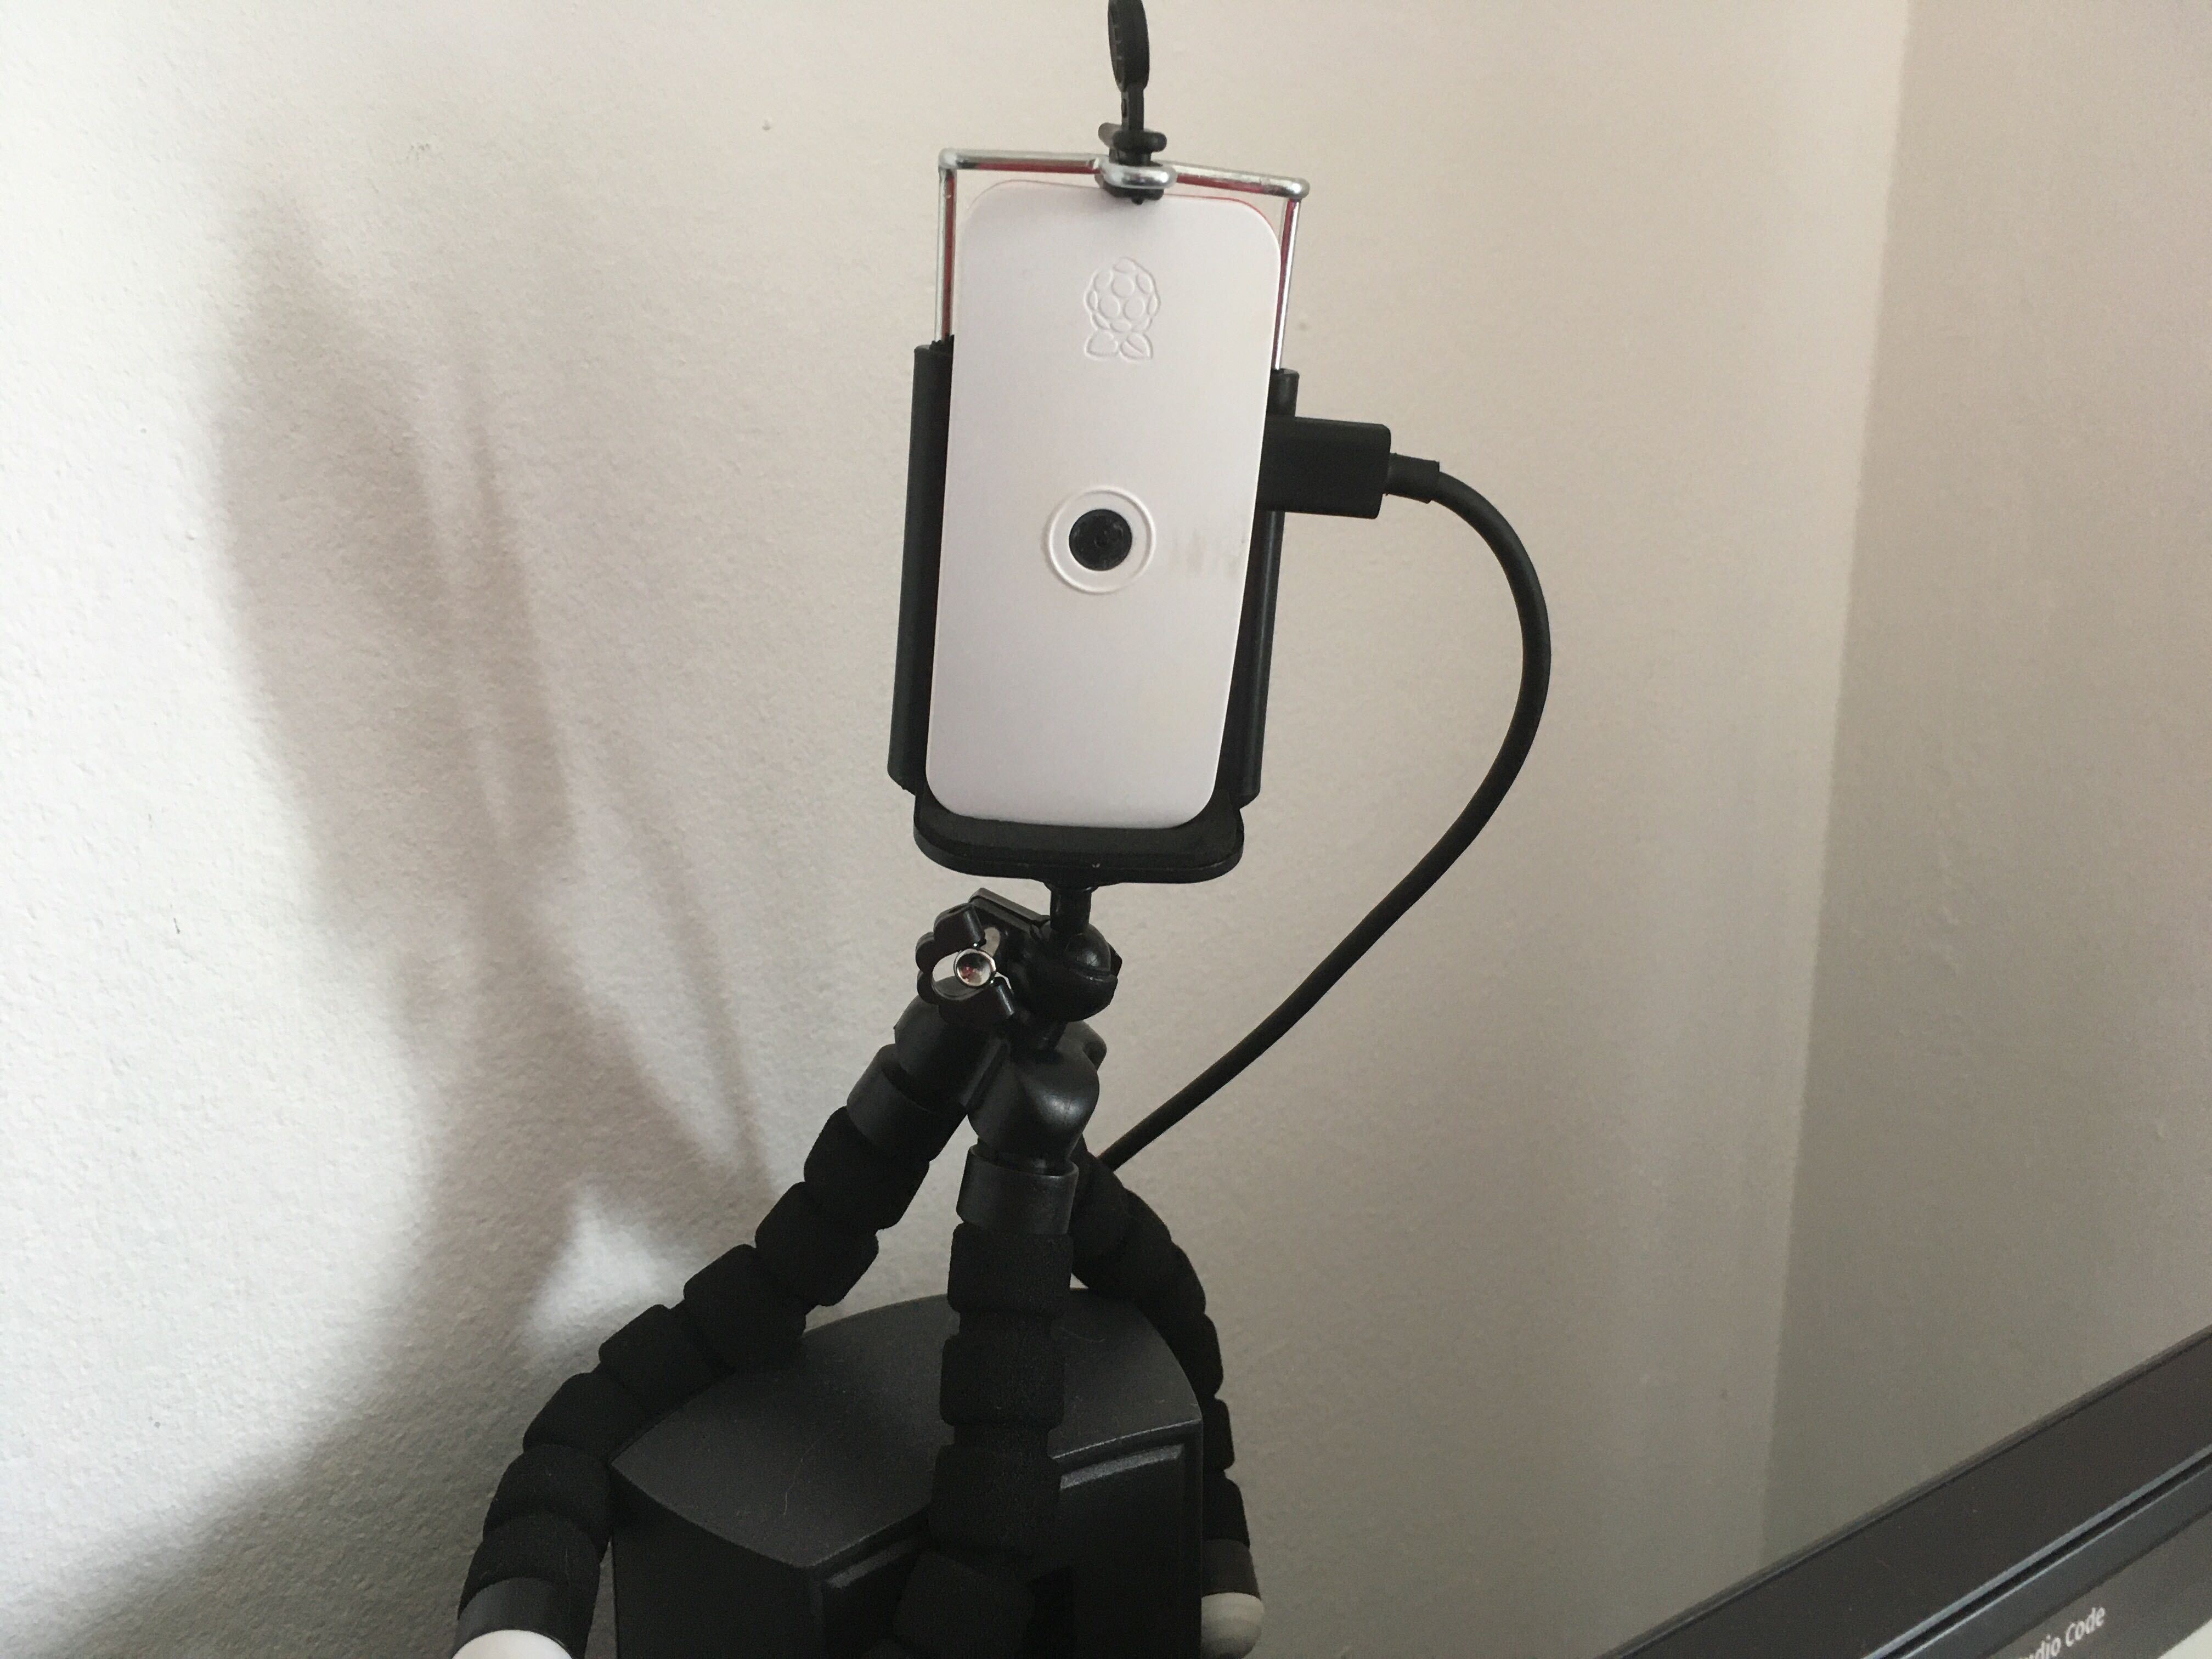
Give it a minute or so to boot up. We should now be able to see our Pi on the local network.
There’s a few ways to do this but I’ve found it best to use the official guide to find the correct
IP address.
Once we have this we can remote into the Pi via SSH with the default username of pi
and the password of raspberry.
Once we’re at the command line, we’re ready to set the camera up as a
USB gadget via David’s guide. A major problem I had was that I tried to edit only the /boot/cmdline.txt file by adding modules-load=dwc2,libcomposite at the
end of the console line. You must make changes to the config file as well and it’s easy to miss this in the guide. Add these lines
to the bottom of the /boot/config.txt file:
# Enable usb gadget mode
dtoverlay=dwc2
Once you’ve run through the above, you can reboot the Pi and start accessing the system via TTY over USB.
If you’re comfortable doing this and want to disable wifi for security, add the following lines to end of the /boot/config.txt file,
under the dtoverlay=dwc2 line:
# Disable wifi and bluetooth (we use TTY connections over usb)
dtoverlay=pi3-disable-wifi
dtoverlay=pi3-disable-bt
This is completely optional and if you’d rather just use wifi, that’s fine as well! If you do want to do it and you’re using Linux make sure to add yourself to the dialout and tty groups as I couldn’t connect without doing this first.
We should now be able to see the raspberry pi show up as a webcam now in a variety of applications.
If you can’t see yours you might want to double check you’ve done all the steps above.
You can adjust the camera brightness, contrast and rotation by adding these lines to your /etc/rc.local file,
just above the exit 0 line:
# set camera settings
v4l2-ctl -c brightness=(0-100, pick a number! Starts at 50)
v4l2-ctl -c contrast=(0-100, pick a number! Starts at 20)
v4l2-ctl -c horizontal_flip=(1 or 0, 1 is on 0 is off)
v4l2-ctl -c vertical_flip=(1 or 0, 1 is on 0 is off)
If the camera appears fuzzy remember you can manually focus the lens with a pair of tweezers as demonstrated in this video. You will probably see a little noise in the image but this is normal for the Pi camera V1/V2 as their sensors can be a slightly noisy in certain situations.
Once you’re happy with the video quality, it’s time to set the Pi into read only mode so we can switch off our PC whenever and not have to worry about corrupting the SD card. Follow Andreas’ guide here then reboot your Pi. Once the Pi comes back online you’re ready to show your friends and co-workers your webcam that cost a fraction of what theirs did and is likely better. Congratulations!